

Zapier is a free application that allows you to connect your Eventship data with thousands of applications like Salesforce, Hubspot, Google Sheets, Slack and more.
Once you connect your Eventship organizer profile with Zapier, you can set up what are called Zaps in minutes to sync your data and create workflows with other tools you use and rely on.
TL;DR
- The Zapier integration is for event hosts (not attendees). You need to have an organizer profile ready on Eventship to get started. Create one here if you don't already have one.
- You'll need to an API Key for your Startup Beach Organizer.
- You'll need a Zapier account to get started.
- You'll need to join the Startup Beach Zapier integration private beta to get started.
- Once you connect your API key to Zapier, you can then sync guest registrations and changes to your external apps (more triggers are coming soon).
1. Get your organizer profile ready
If you are already hosting events and have an organizer profile ready, skip this step.
Otherwise, from your Startup Beach Dashboard, click on Create Organizer if you don't already have an organizer set up.
2. Get your Organizer API Key
Once your organizer profile is ready, from the Organizer Settings screen, click on Create API Key to generate your API Key. It's important to keep this key secure and never share it with anyone as they will have access to your guest and registration details.
In the unfortunate event that your key falls in the wrong hands, just come back to this screen and re-generate the key. Note that you'll need to update the key in Zapier for your Zaps to continue working.
3. Get your Zapier account ready
Just head over to Zapier.com and create your free account to get started.
4. Join the Eventship Zapier Private Beta
The Eventship Zapier integration is currently in Private Beta so you won't see it listed yet. TO get access, join the private beta here.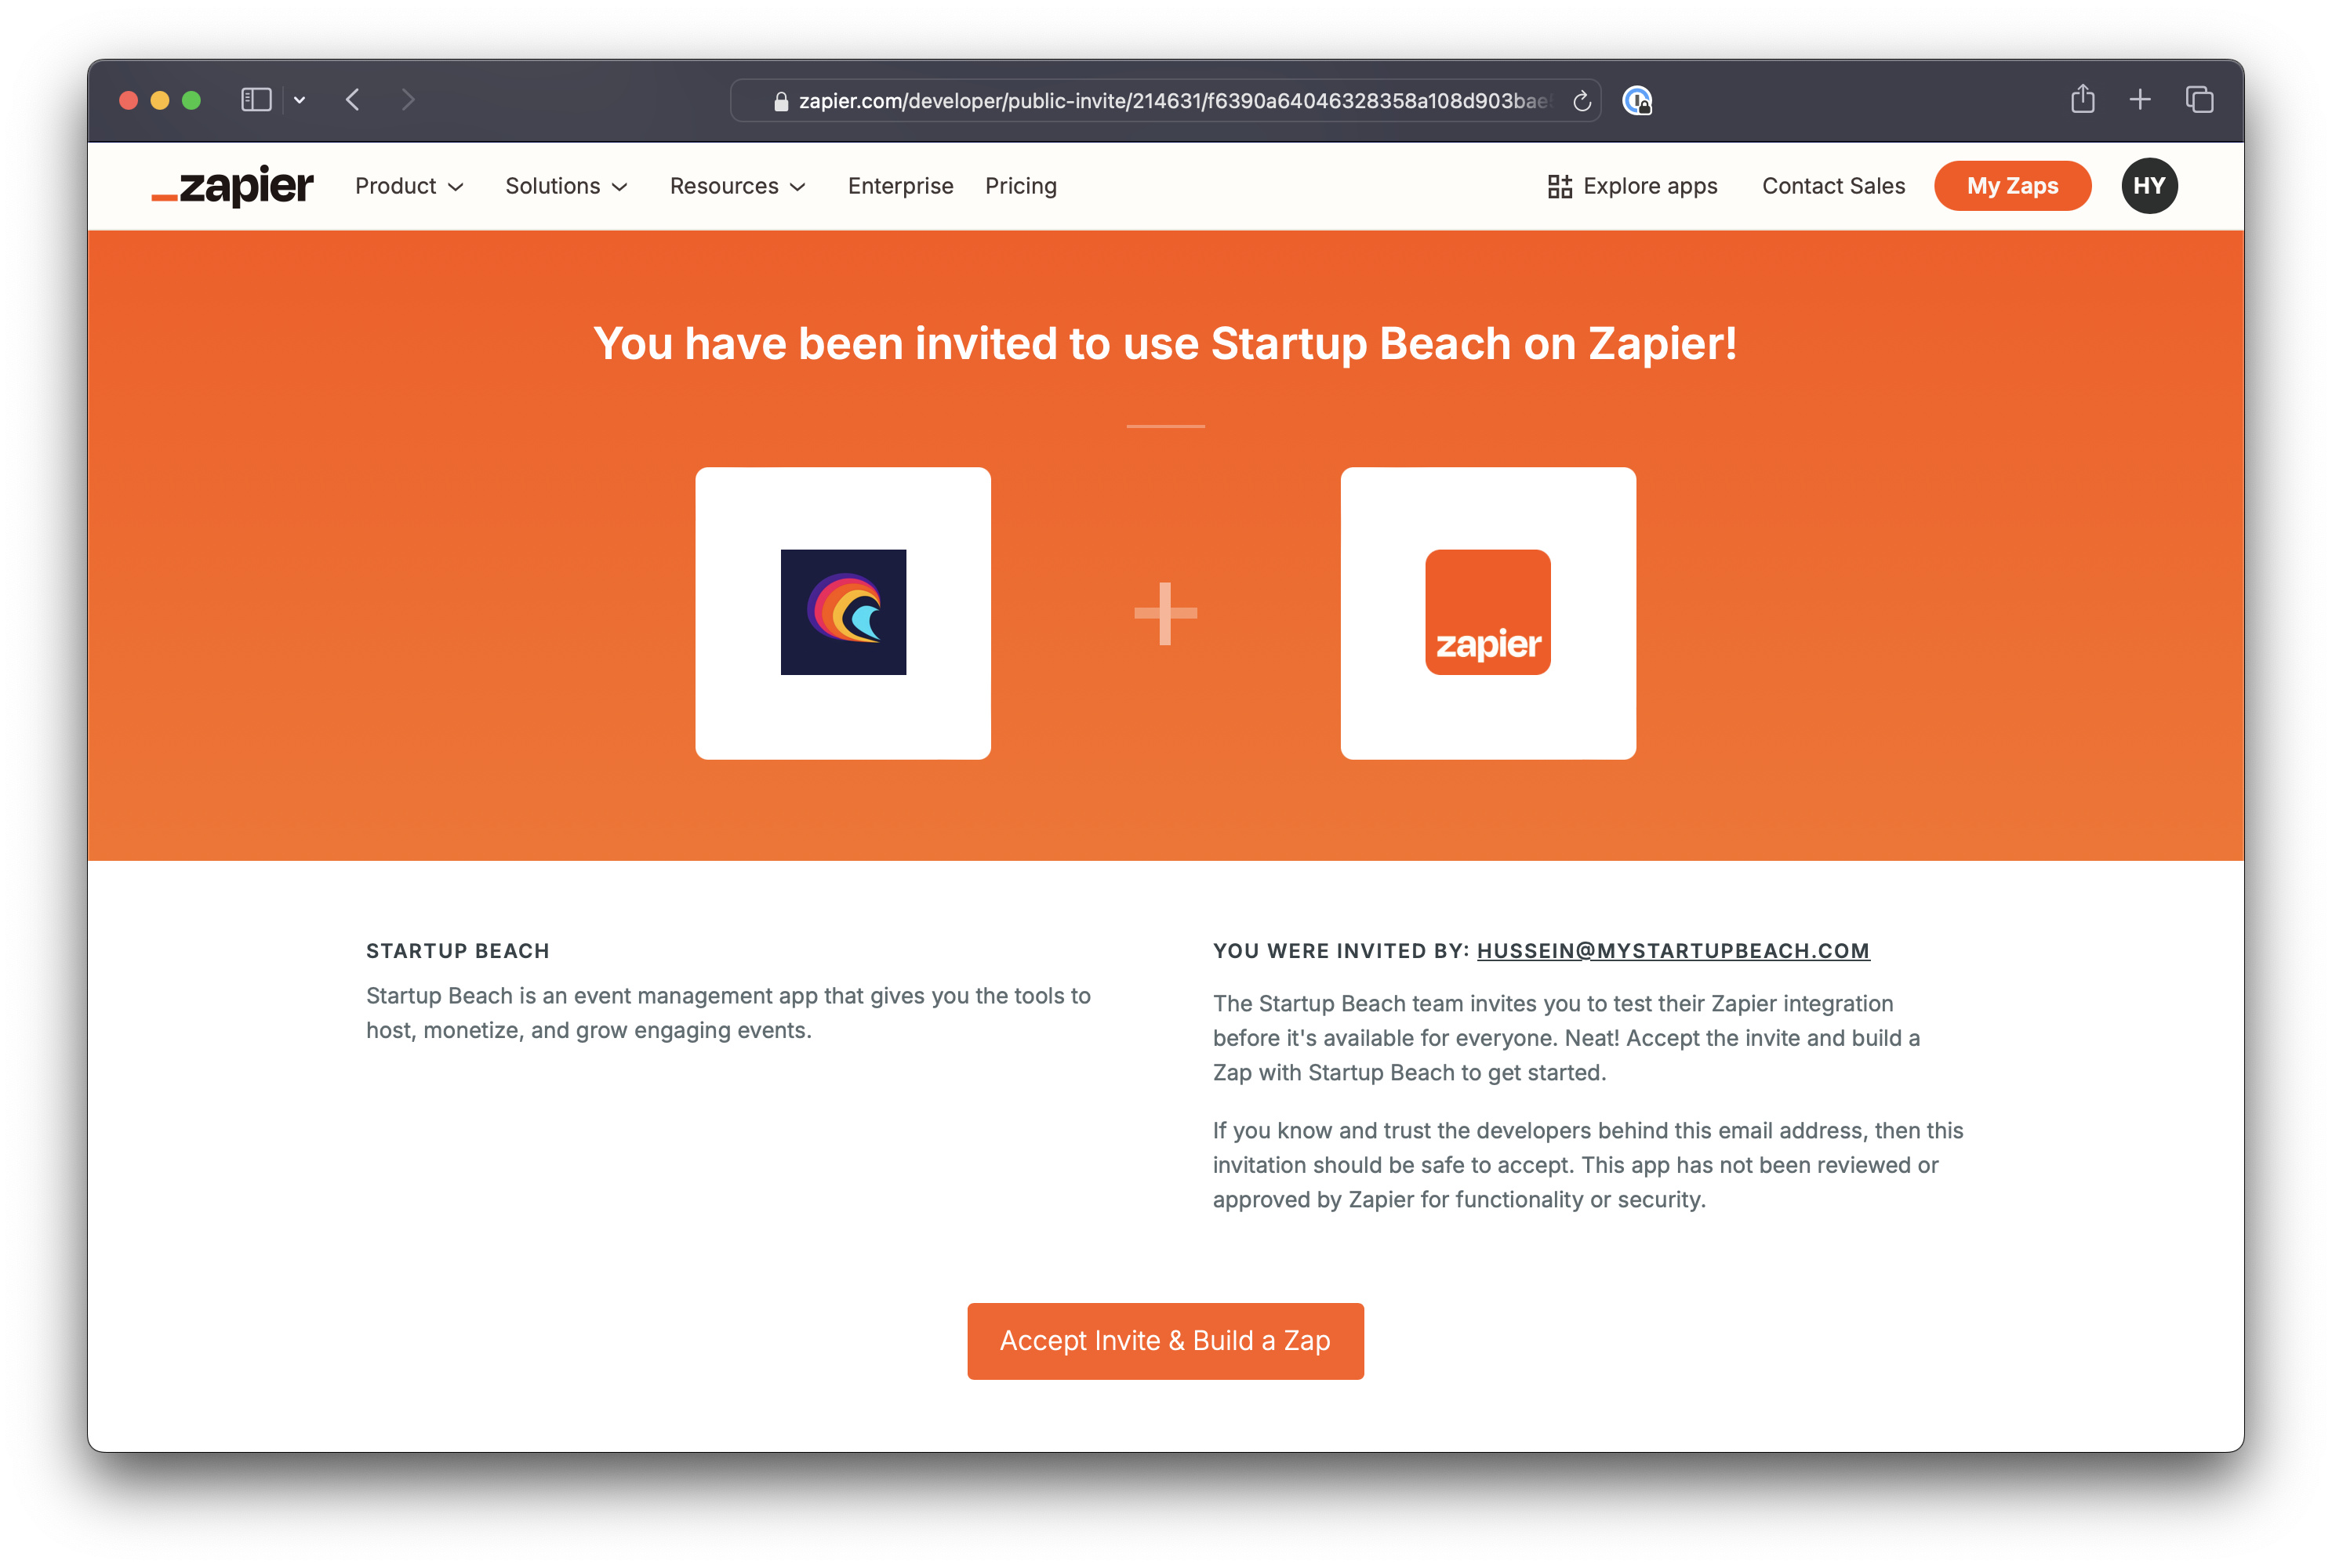
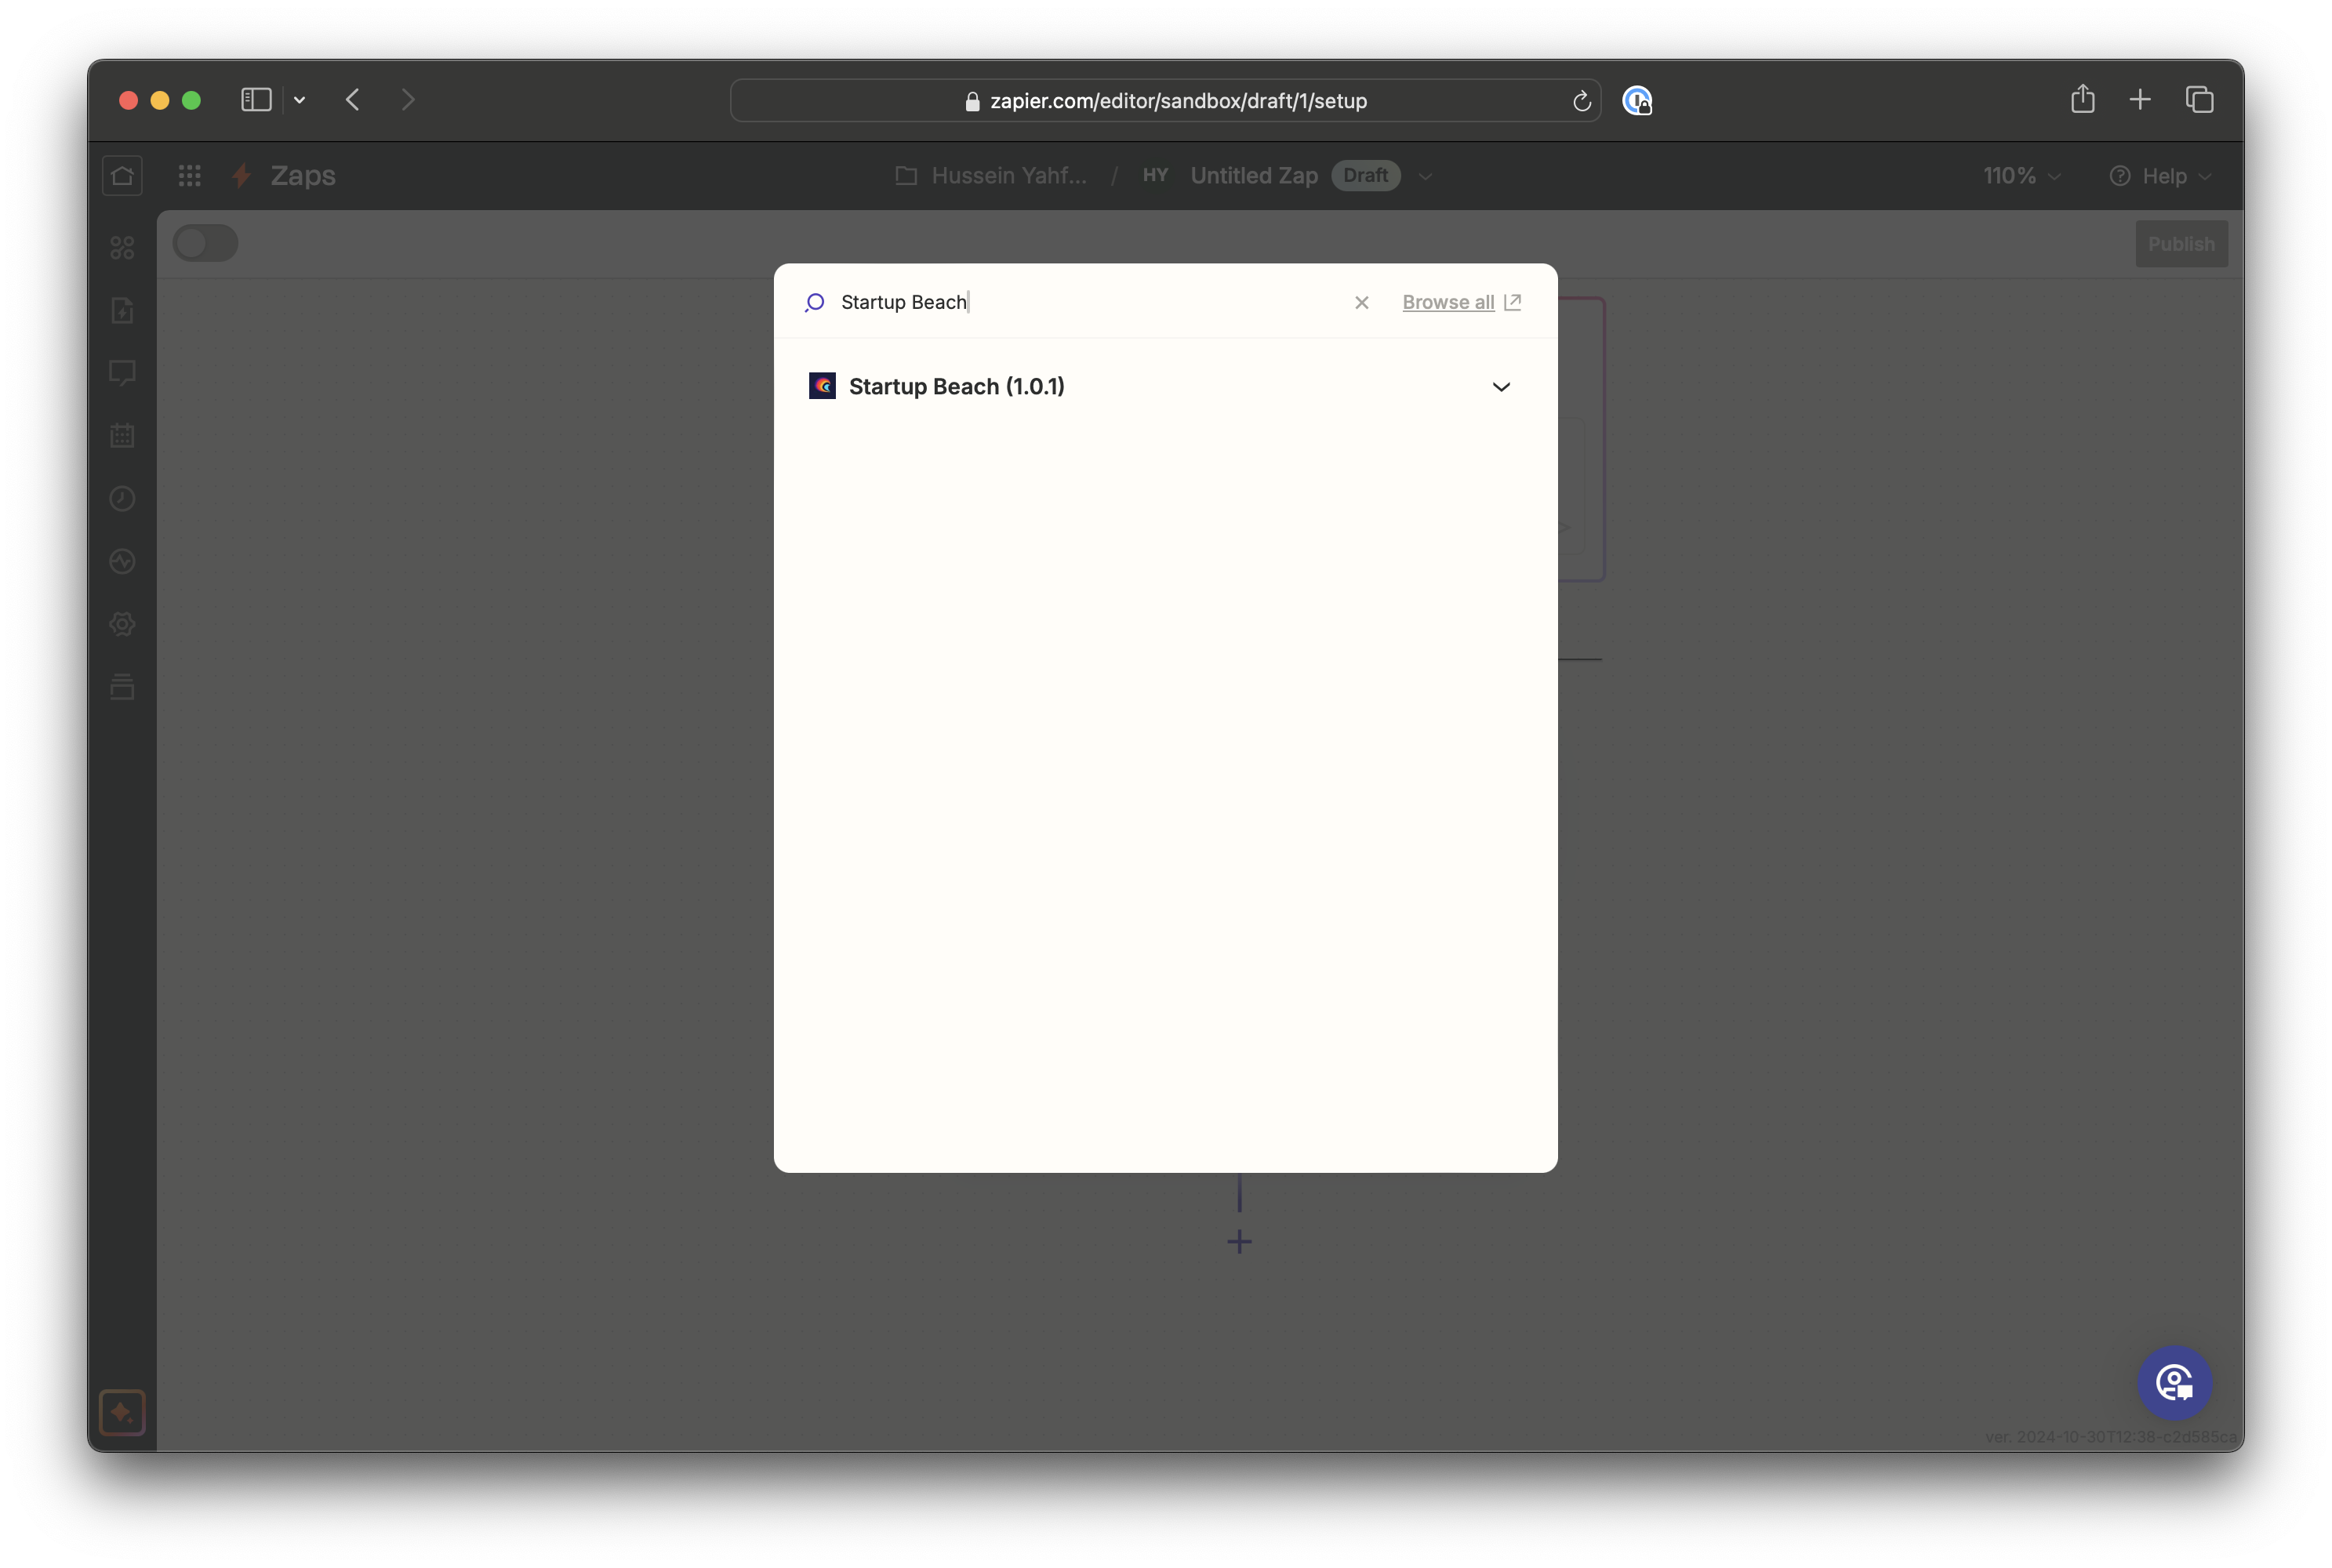
5. Create your first Zap!
From your Zapier dashboard, click on Create then choose Zap to get started with your first Zap. Click on Triggers and then search for Eventship.
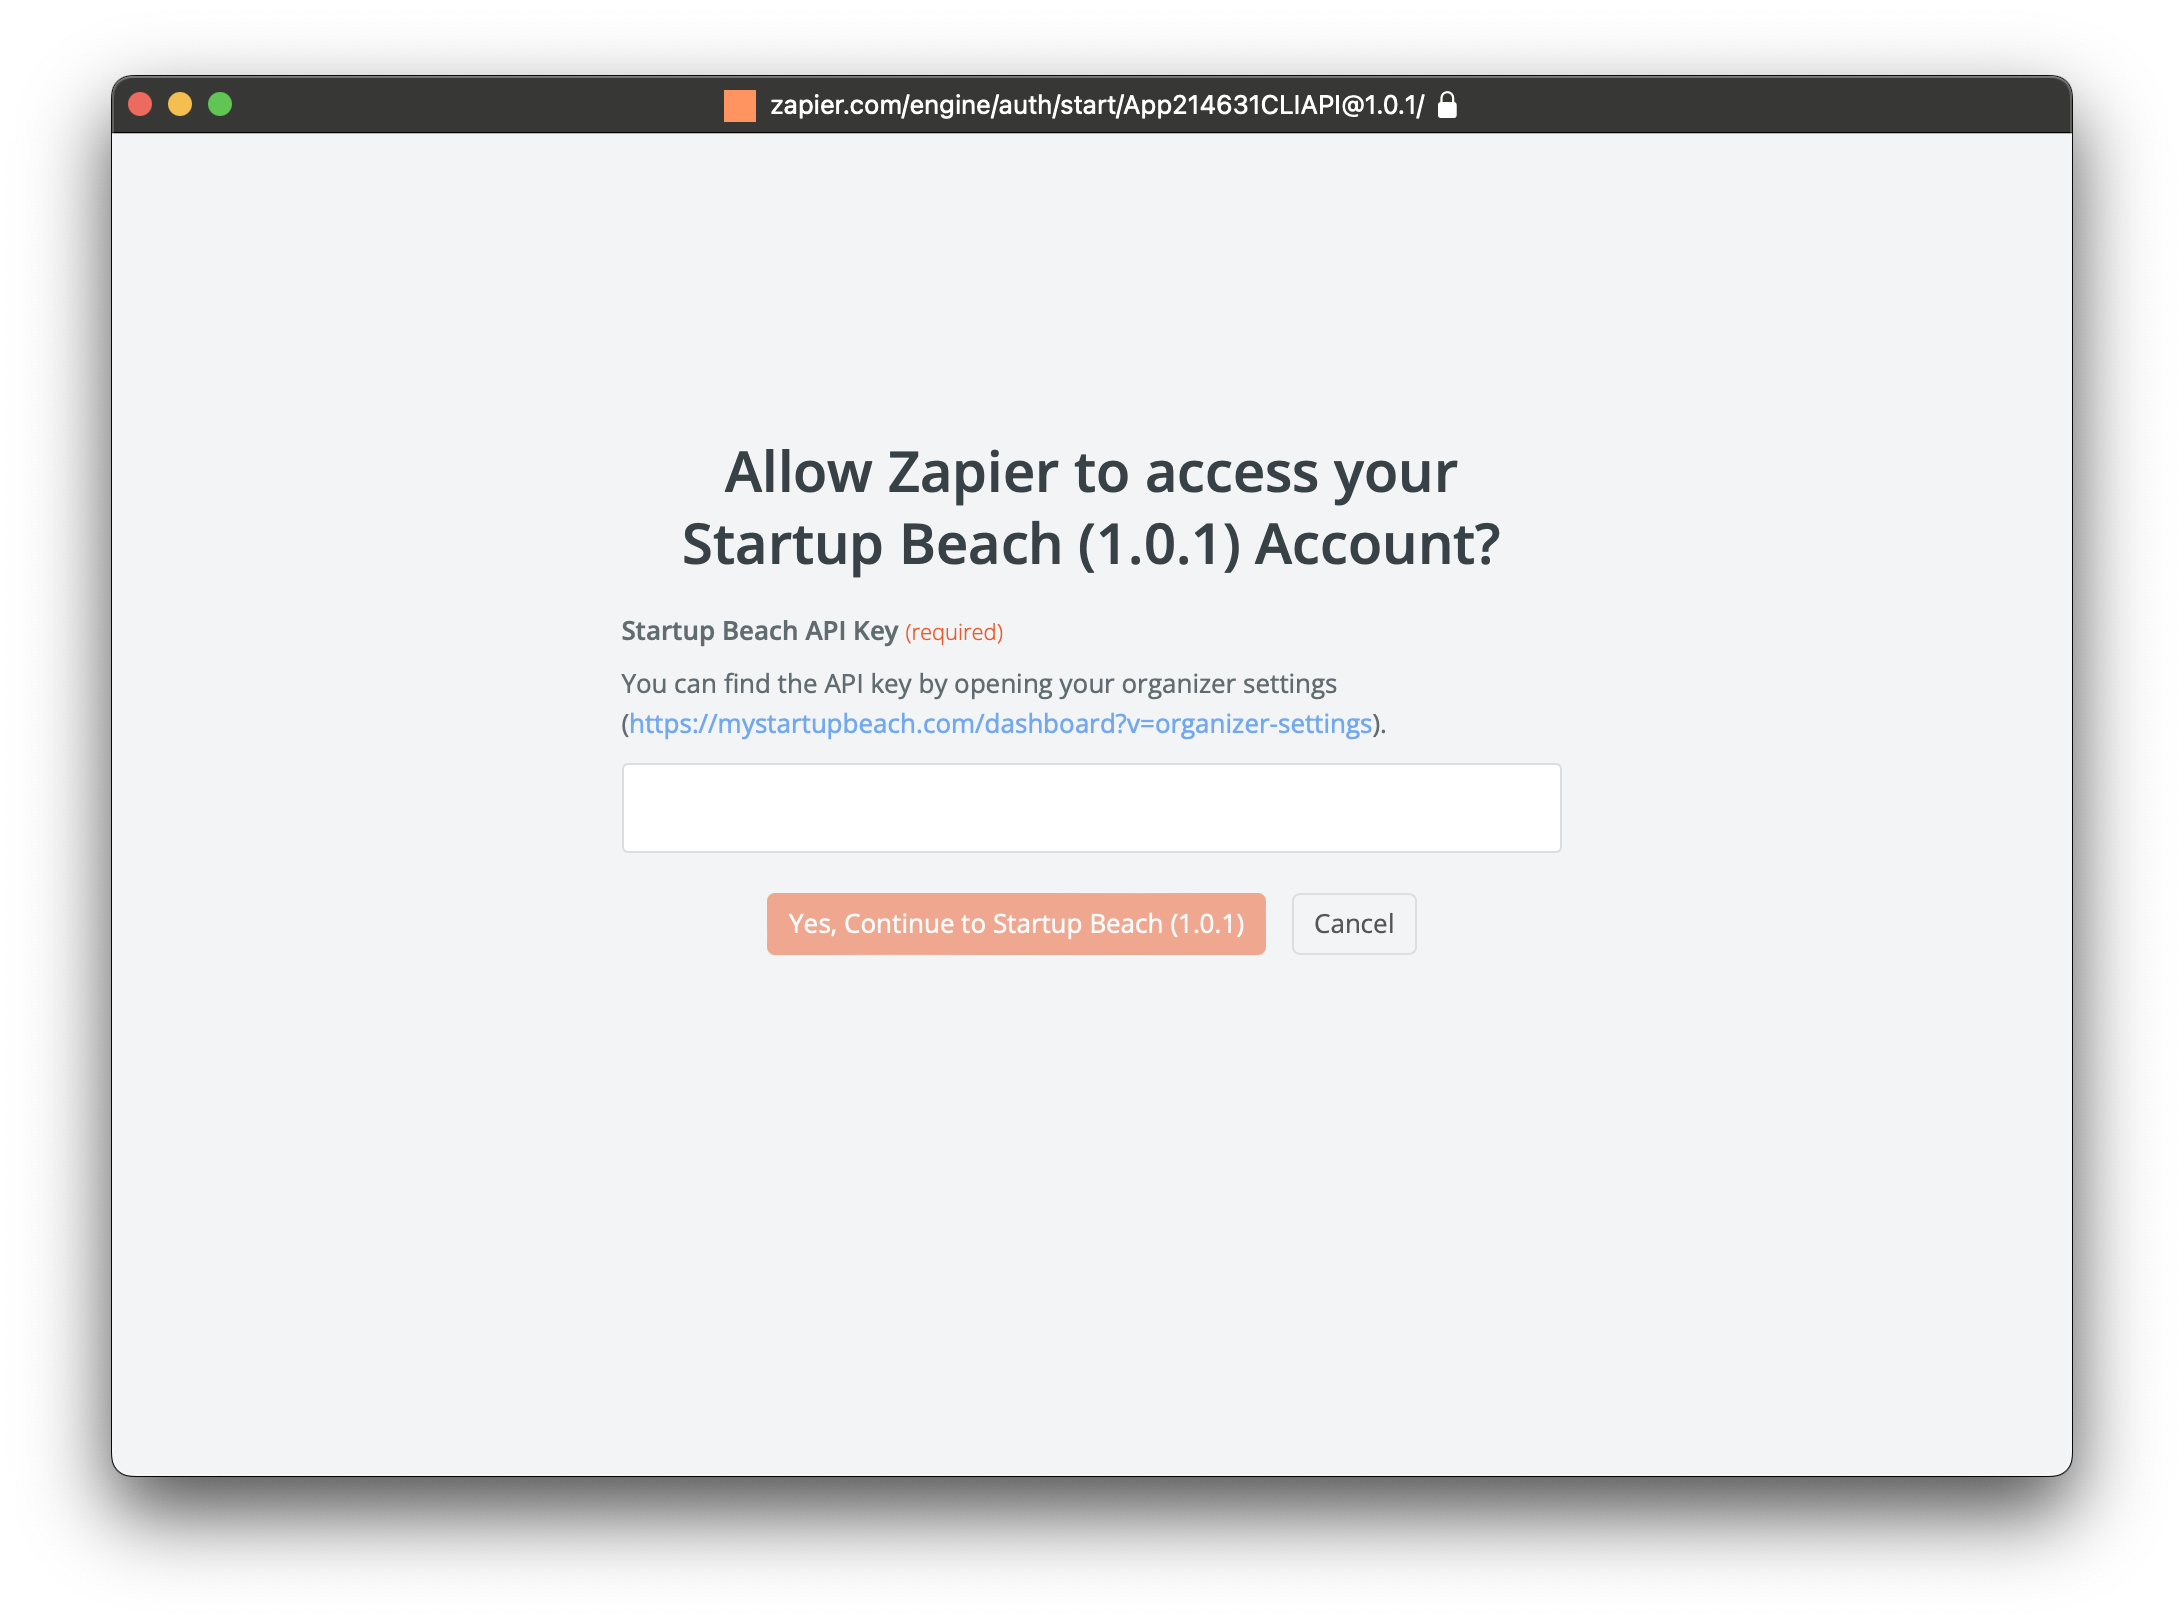
Make sure your browser pop-up are allowed. Then click on Connect a new account. This will open a pop-up that will ask you for your Eventship API Key.
You'll now be able to choose a trigger. For now, Event Guest Updated is the only one available.
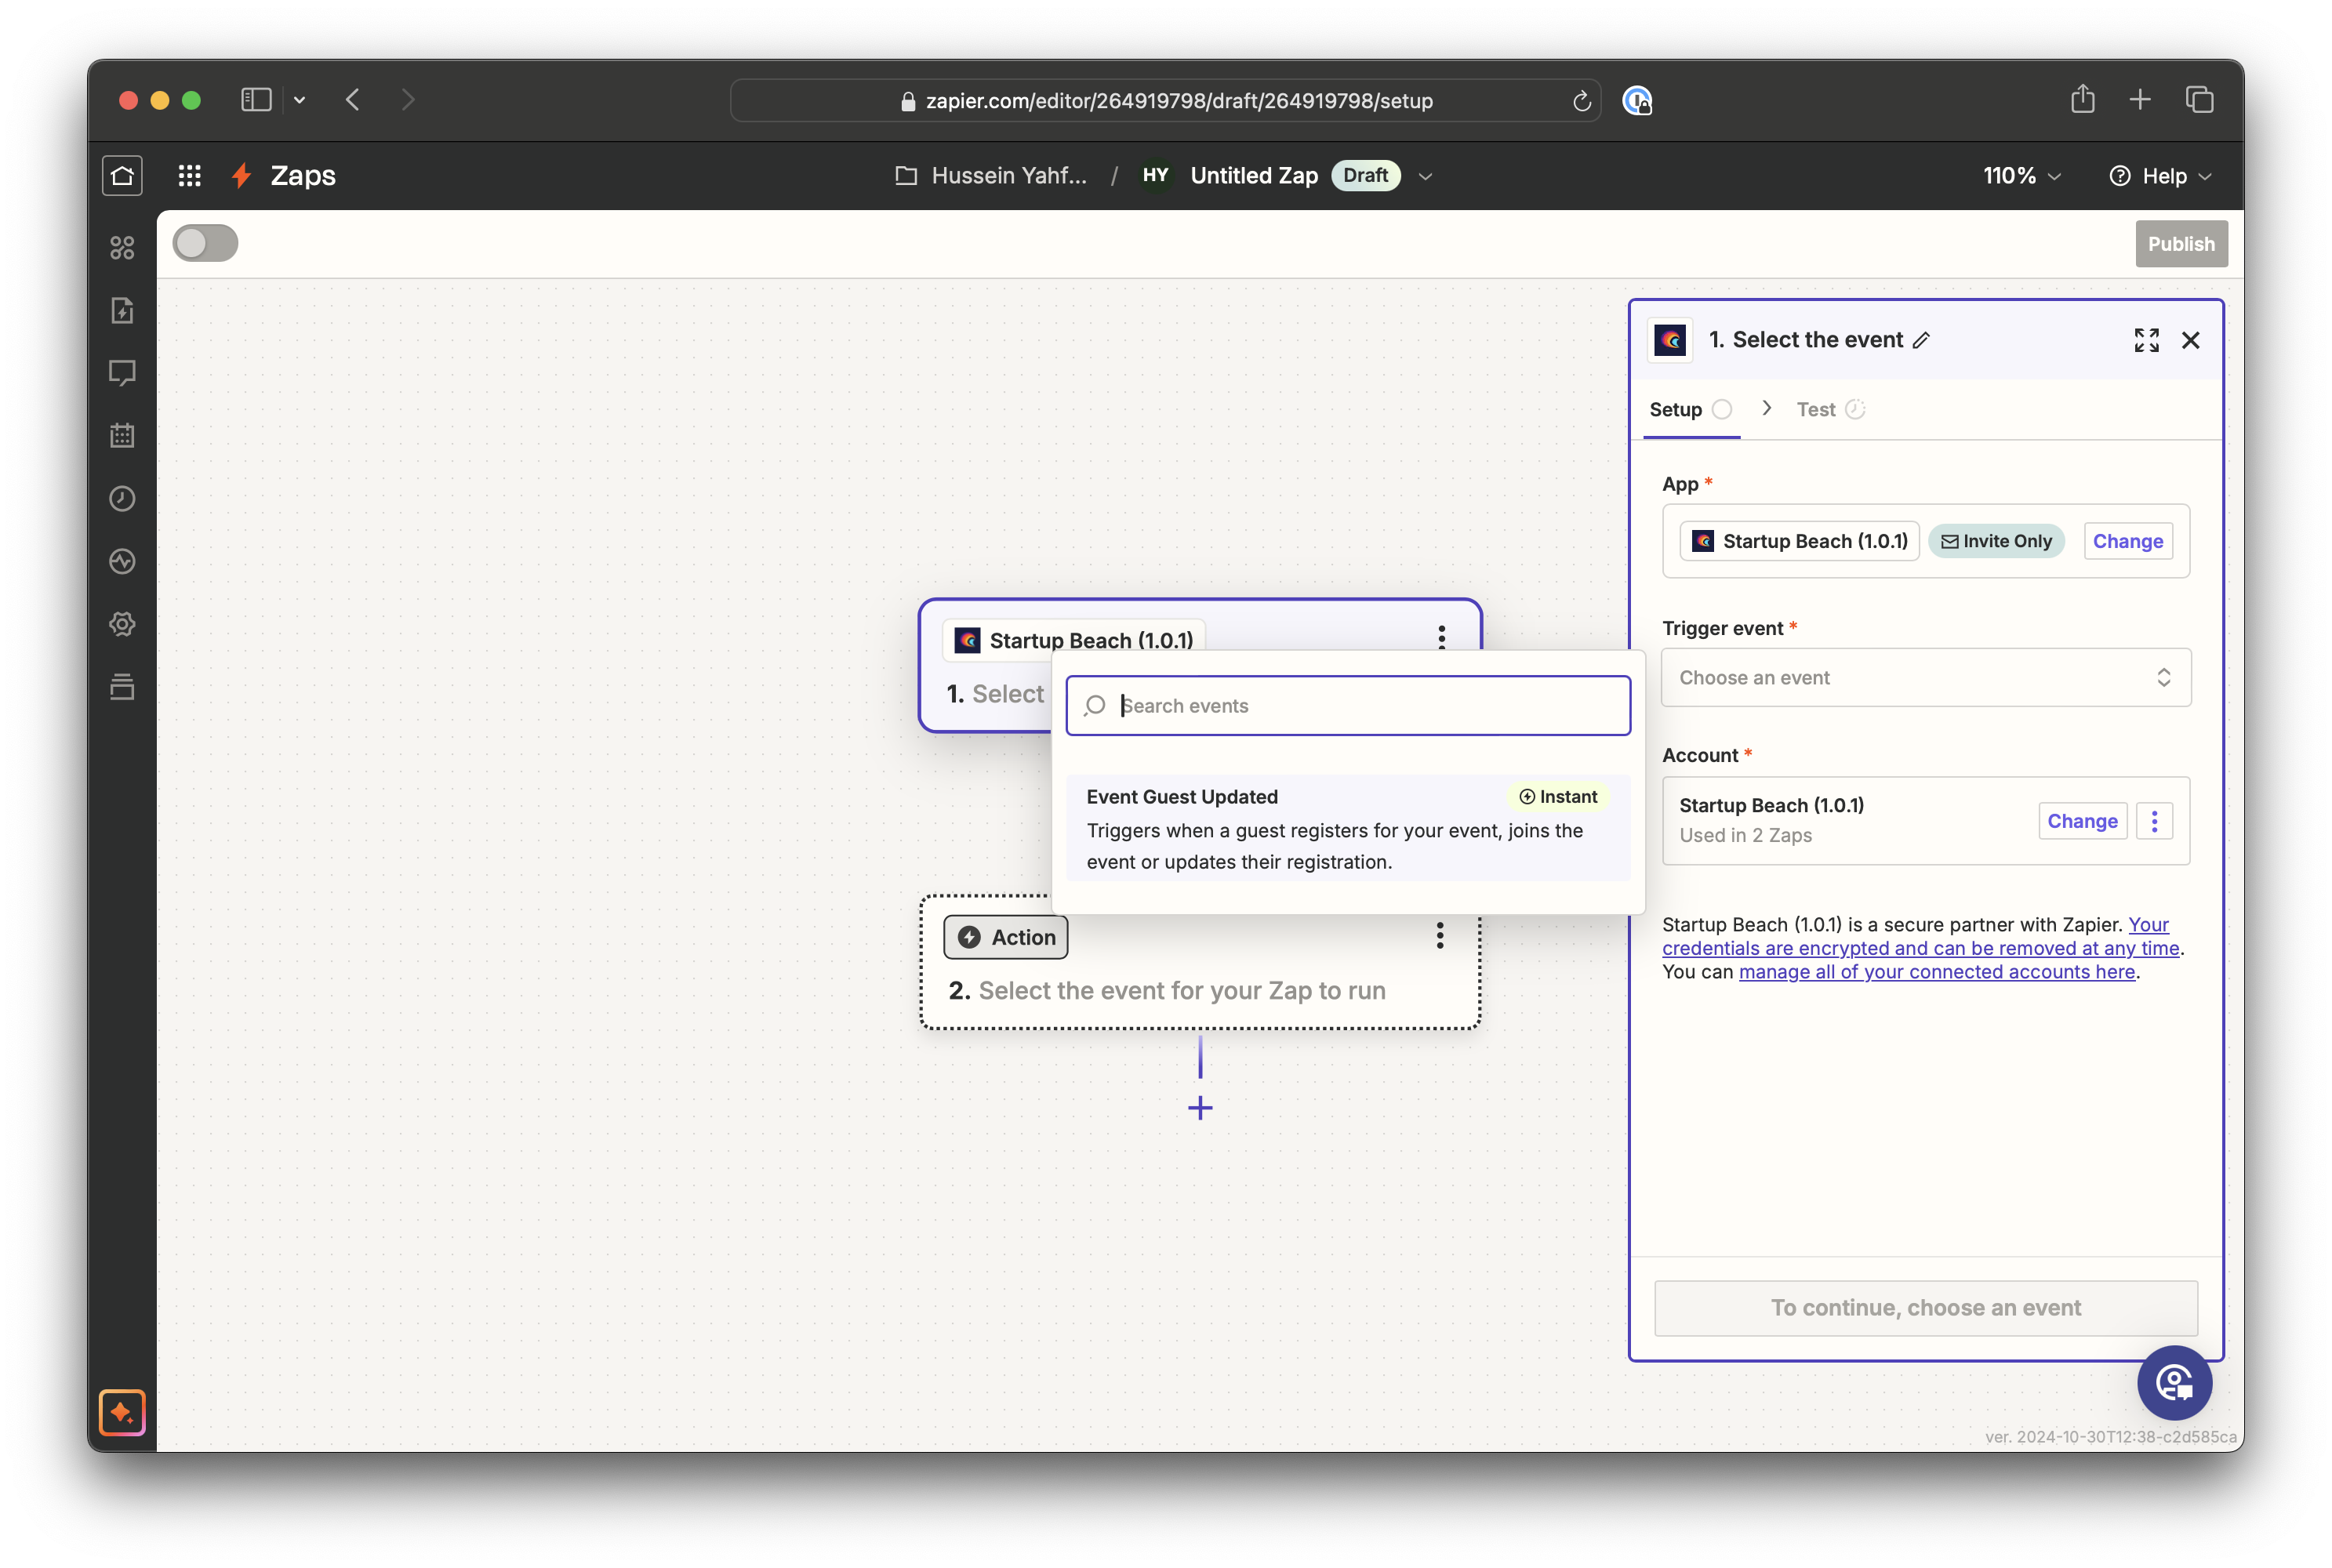
Tap continue and then test the trigger. When you test the trigger, it will show you example data of what the integration returns. This will give you an idea of what information is available for you to work with.
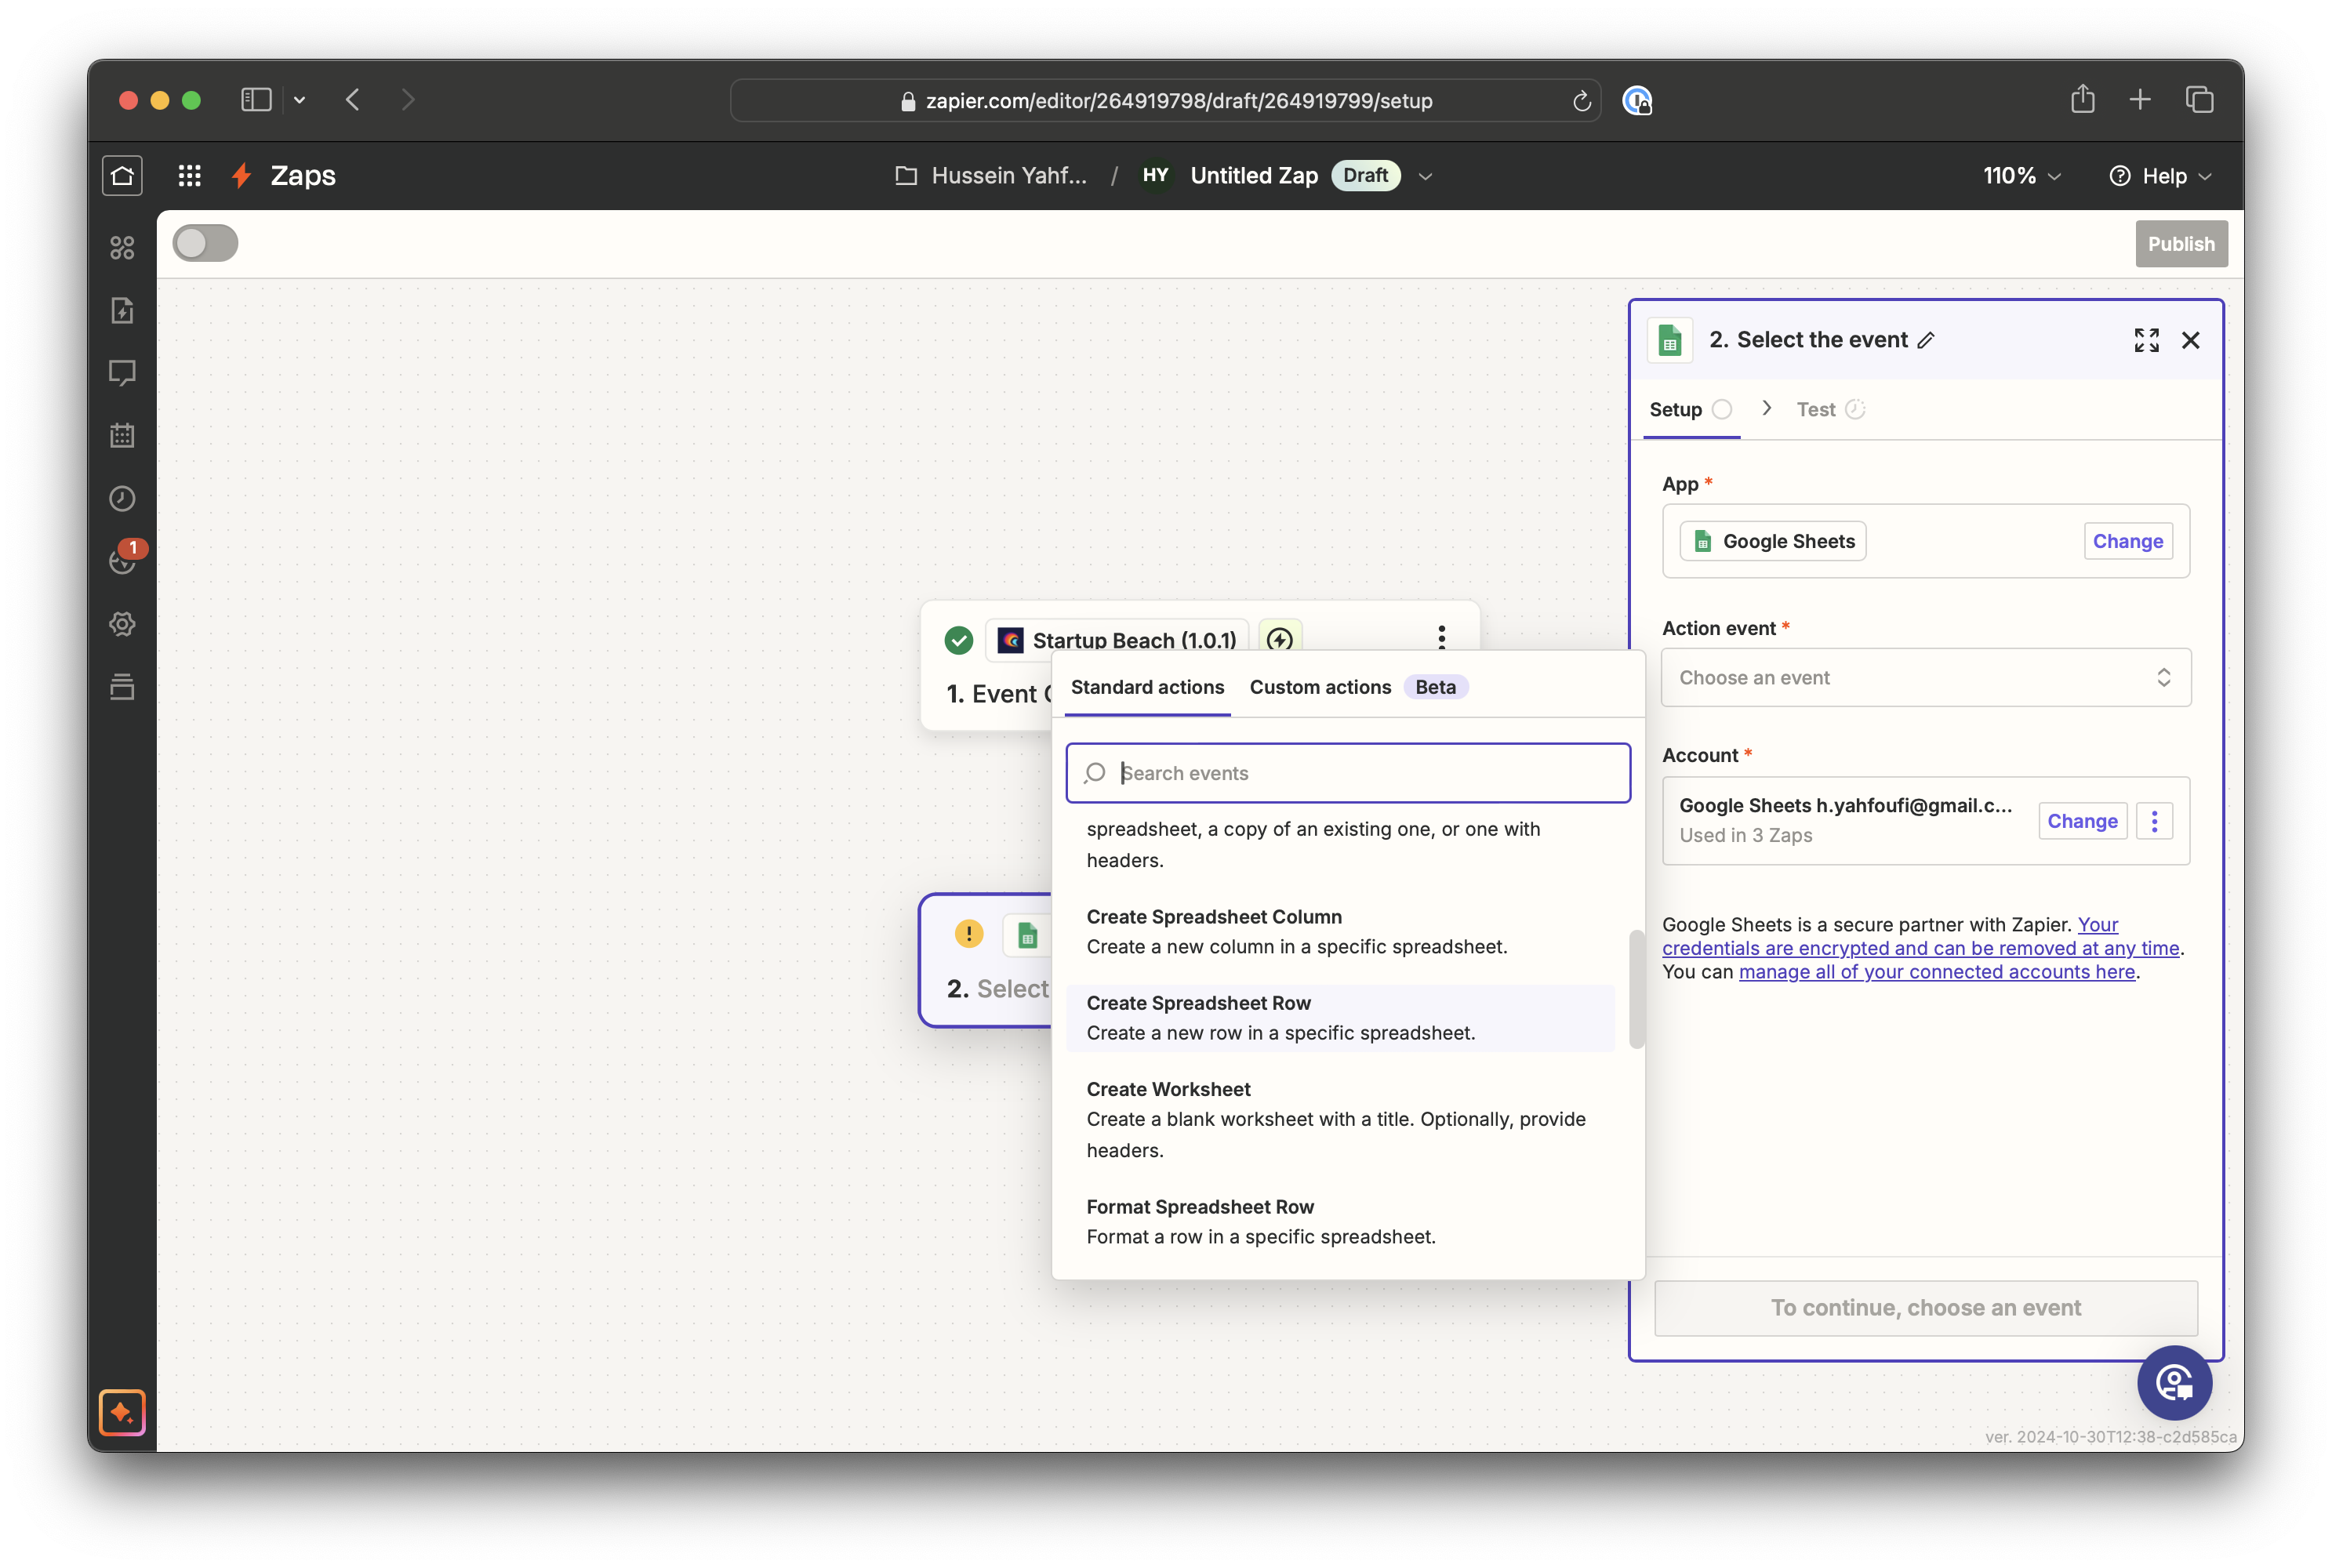
Click continue to then select what Action you want to take.
Your action app is where Zapier will send the data from Eventship. Great examples are Salesforce, Hubspot, Google Sheets, Slack, etc.
See the Zapier Knowledge Base if you run into trouble with this step.
Here's an example using Google Sheets.
First, get your Google sheet ready by adding a header row for the data you want to sync. For example:
- Event Name
- Guest Email
- Guest First Name
- Guest Last Name
- Registration Status
- Registration Date
- Ticket Type
- Amount Paid
You can see the list of available fields when you do the test from the previous step or by clicking on the + button in Zapier
Now back in Zapier.
Start by choosing Google Sheets and then connecting Zapier to your Google account if it's not already connected.
You can then choose with Google Sheet you want to connect to and what action you want to take. For example: Create spreadsheet row
Zapier will automatically pull your header column names so you can easily map them to Eventship fields.
Click on the plus button next to each field or type / to open the list of available fields. Then map each field from your spreadsheet to a Eventshipfield.
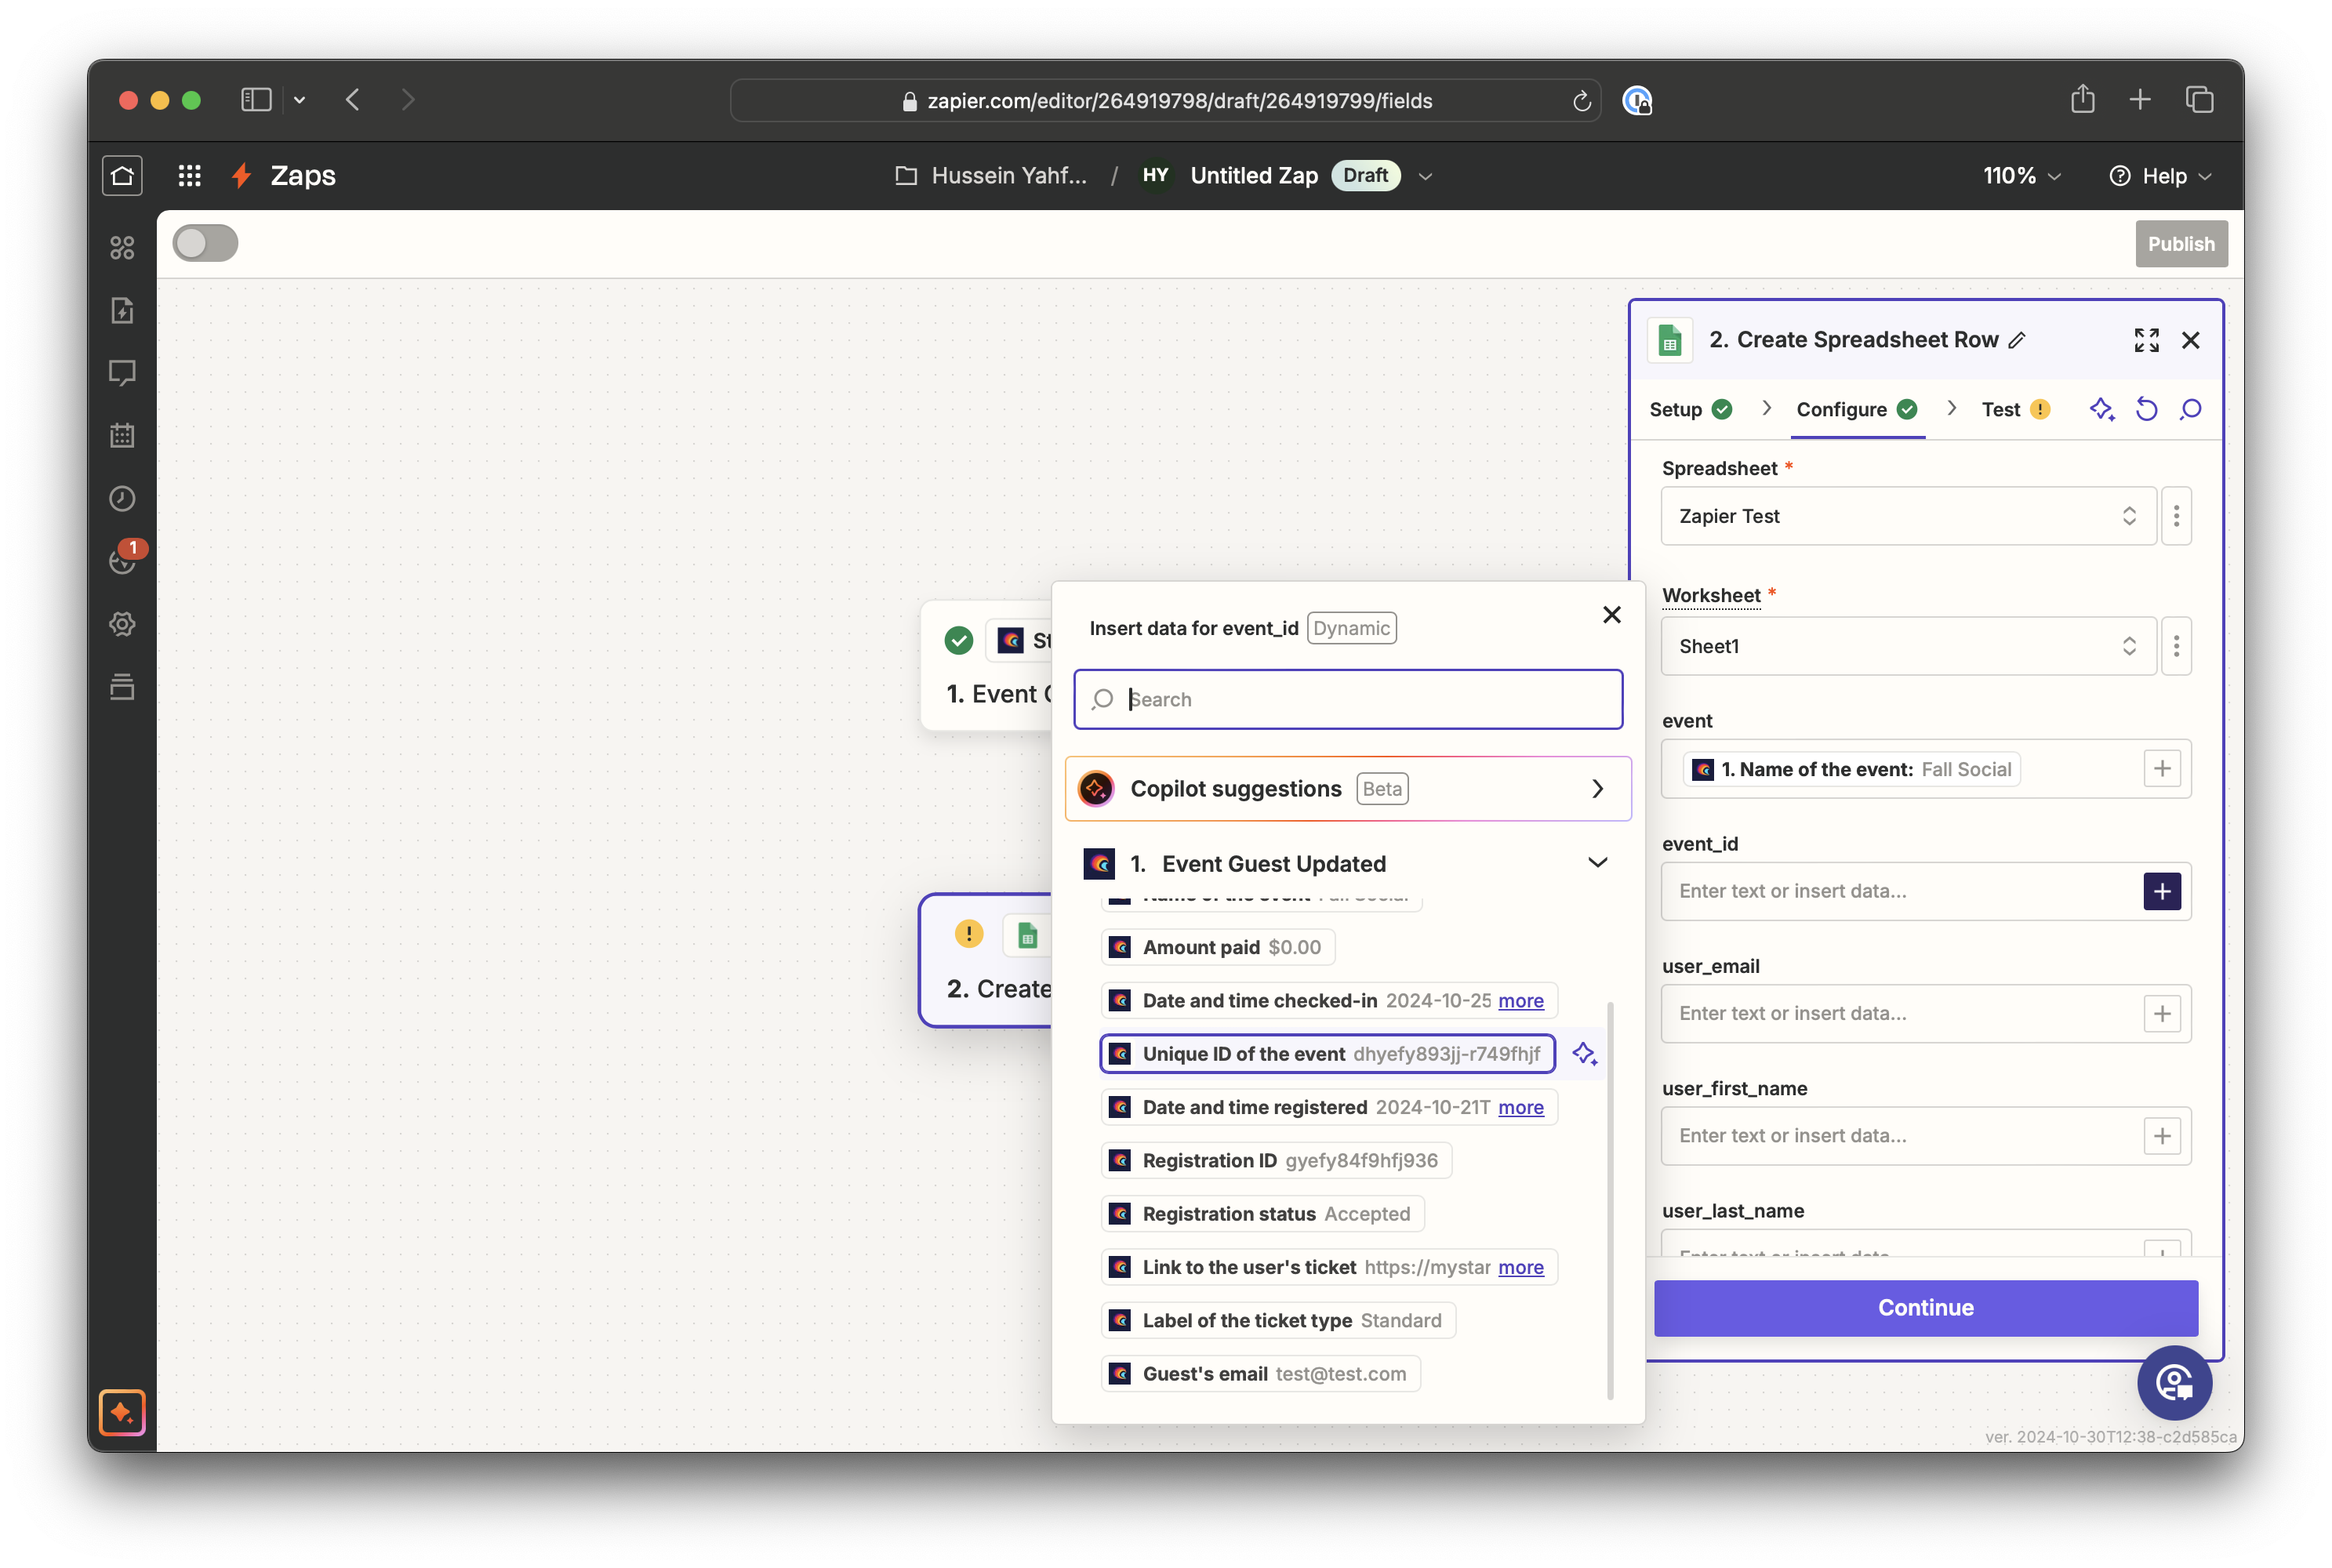
Finally hit Continue and then Test Step to make sure the field mapping is correct. When you are happy with the results activate your Zap and you should be on your way!
Need more help?
Do not hesitate to reach out to the Eventship team for help.